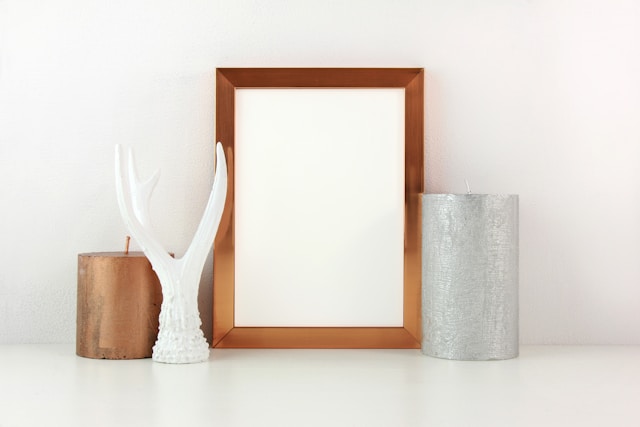
There’s something uniquely satisfying about crafting your own picture frame. Whether you’re preserving a cherished photograph, showcasing a piece of art, or adding a personal touch to your home décor, building a wooden frame from scratch combines creativity, craftsmanship, and functionality. Best of all, you don’t need a full woodworking shop or years of experience to get started.
In this guide, I’ll walk you through the complete process of making a picture frame using basic tools and materials. From choosing the right wood to assembling and finishing your frame, each step is designed to be approachable for beginners yet rewarding for seasoned DIYers.
Materials and Tools Needed
Creating a beautiful picture frame begins with gathering the right materials and tools. Using quality wood and the proper equipment will not only make your project easier but also give your frame a more professional finish.
Wood Selection
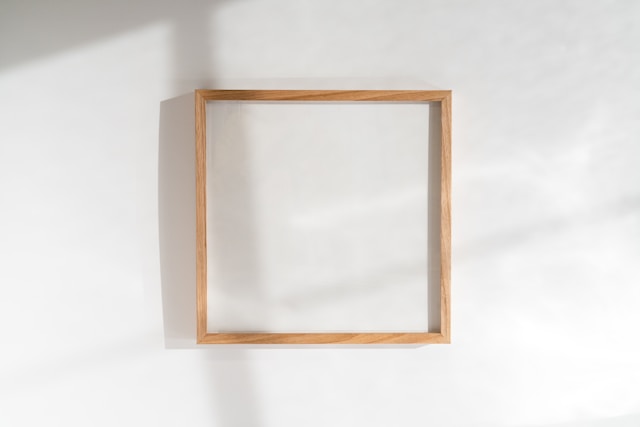
The choice of wood significantly influences the look and durability of your frame. Common options include softwoods like pine, which are budget-friendly and easy to work with, and hardwoods such as oak, maple, or walnut, which offer greater strength and a more refined appearance. If you’re new to woodworking, pine is a great starting point before moving on to harder materials.
Make sure the wood you select is straight, without twists or warps. Standard frame stock is typically 1×2 or 1×3 inches in cross-section, depending on how wide you want your frame to be.
Essential Tools
A few basic tools are all you need to build a simple picture frame. Here’s a breakdown of what’s required:
- Measuring Tape or Ruler
Accuracy is key when cutting frame pieces. Use a measuring tape or a metal ruler to ensure precise measurements of your artwork and wood stock. - Miter Saw or Hand Saw with a Miter Box
To create clean 45-degree angles at the corners of your frame, a miter saw is ideal. A hand saw with a miter box is a suitable alternative if you’re working without power tools. - Clamps
Clamps are crucial when gluing the frame pieces together. They hold everything firmly in place while the glue sets, ensuring tight and square corners. - Wood Glue
A strong, wood-specific adhesive is essential for bonding the corners of your frame. Choose a high-quality wood glue for the best results. - Nails or Brad Nailer
While glue provides the main bond, reinforcing the corners with small nails or a brad nailer will add extra strength and stability. Be careful to avoid splitting the wood.
Finishing Supplies
Once your frame is assembled, you’ll want to give it a polished look.
- Sandpaper or Sanding Block
Use medium- to fine-grit sandpaper to smooth rough edges and joints. Sanding prepares the surface for finishing and gives the frame a clean, uniform texture. - Paint, Stain, or Varnish
Choose a finish that complements your decor. Stains highlight the natural grain of the wood, while paint allows for bold or subtle color choices. A clear varnish can protect the surface and enhance its shine.
Hardware for Display
The final step is getting your frame ready to hang or display.
- Glass or Acrylic Sheet
If you want to protect your artwork, add a glass or acrylic front. Make sure it’s cut to fit the inside dimensions of your frame. - Backing Board
A firm backing holds the picture in place. Foam board or mat board works well and is easy to cut to size. - Hanging Hardware
Depending on the size and weight of your frame, you can choose from sawtooth hangers, D-rings, or picture wire. Attach the hardware securely to ensure your frame hangs safely and evenly.
Step-by-Step Instructions
Making a wooden picture frame is a satisfying project that combines precision with creativity. Below are detailed steps to guide you through the process, from measurement to finishing and hanging.
Step 1: Measure Your Picture
Begin by measuring the dimensions of the picture or artwork you want to frame. Note the width and height, and decide whether you’ll be adding a mat around the picture. If you’re including a mat, make sure to account for the added space when calculating the inner frame dimensions.
When measuring, be as precise as possible—down to the millimeter if needed. A small measuring error can result in gaps or a poor fit. It’s a good practice to write down your measurements and double-check them before cutting any wood.
Step 2: Cut the Frame Pieces
Once you’ve confirmed your measurements, it’s time to cut your wood. You’ll need four pieces: two for the top and bottom, and two for the sides. Each piece must have 45-degree mitered ends so that they fit together cleanly to form a rectangle.
Use a miter saw or a miter box with a fine-toothed hand saw to make these cuts. Cut slowly and steadily to ensure smooth, clean edges. After cutting, dry-fit the pieces together to make sure the corners align properly and form perfect 90-degree angles.
Step 3: Assemble the Frame
With all four pieces cut, apply a thin layer of wood glue to the mitered ends. Join the corners together, forming a rectangle. Use clamps to hold the frame in place while the glue dries. A band clamp works particularly well for picture frames, as it applies even pressure around all four sides.
Let the glue dry according to the manufacturer’s instructions—usually for several hours. For added strength, consider reinforcing the joints with brad nails or corner splines. Just be careful to align everything squarely before securing permanently.
Step 4: Sand and Finish
After the glue has dried and the frame is sturdy, it’s time to smooth the surfaces. Use medium-grit sandpaper to remove any glue residue and to level out the corners. Follow up with fine-grit sandpaper to achieve a smooth finish.
Now you can apply your chosen finish. If you’re staining, use a brush or cloth to apply the stain evenly, following the grain of the wood. For paint, use a small roller or brush to get an even coat. Allow it to dry completely, and consider adding a second coat or a clear sealer for protection and durability.
Step 5: Insert the Picture and Backing
Lay the frame face down on a soft surface to avoid scratching it. Insert a glass or acrylic sheet cut to size, followed by your picture or artwork. Add a backing board to hold everything in place.
To secure the contents inside the frame, you can use framing points, glazier’s points, or flexible tabs. These can be pressed in with a flathead screwdriver or a specialized point driver.
Step 6: Attach Hanging Hardware
Finally, attach the hardware to the back of the frame. For smaller frames, a single sawtooth hanger may be enough. For larger or heavier frames, use two D-rings and picture hanging wire for balanced and secure mounting.
Measure and mark the placement of your hardware carefully to ensure the frame hangs straight. Once everything is installed, your frame is ready to display!
Enjoyed this insight of How to Make a Picture Frame? Then be sure to check out our other woodworking insights.